Showing posts with label lindy's stamp gang. Show all posts

Saturday, April 22, 2017

Earth Day - be the CURE {Sustainable Souls}

Hello friends out there -- hope you're doing well this Earth Day ♥


I've always had a soft spot in my heart for Mother Earth and all her glory. I sometimes refer to it as my hippy heart... which I'm happy & proud of. I love the Sustainable Souls Project because this group of amazing artists is bringing to light some topics that need more presence in our communities. As of late there's been a lot of  controversy surrounding the validity of global warming, the harmfulness of fossil fuels & the other blights that are harming our planet.

They are real.

and we need to take a larger stand.

today a few of the artists have partnered up for an extra little round of art journaling using a stencil that was created from our Sustainable Souls Project logo (which I created♥). Thank you StencilGirl! Take a look around and see what everyone has done.

Here is my page:


you have to be the cure... 
...not just another patch.


It's a base of Canson watercolor paper and an insanely thick layer of modeling paste through the stencil. I use Blick Modeling Paste for this process because it's so damn thick. And when it's finished drying it has a sort of plastery feel to it instead of a hard melted plastic.


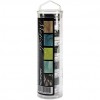
After it had enough time to dry I covered the entire thing in white gesso. I was a little nervous about having such varying bases.. the open parts of the watercolor paper & the plaster like modeling paste through the stencil. Then I used a Lindy's Stamp Gang MAGICAL & water to add some silvery depth to the recesses. I loved overflowing the page and having this sort of rainy drippy effect all over. It seemed appropriate for the message I wanted to convey. 


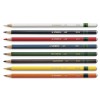
I then mimicked the magical process with a Stabilo Marks All. I'm a huge fan of this pencil and will probably send one or two of the owner's children to college. It is such a delicious dark grungy effect and really complimented the silvery magical well.


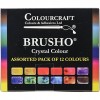
In all honesty I thought I was done with my black & white grungy page. So I set it to the side and started working on other things... then my brain went into overdrive and all of a sudden I needed a LIGHT shining through the dark desolate page. I grabbed my set of Brushos and got to work with Turquoise, Ultra Marine Blue & Purple. I haphazardly outlined my stencil shapes and drew the color into the background with water. We can, after all, make a difference if we just try. Why shouldn't my page have a little hope peeking through?


And last but certainly not least came what now may be the very most important part of the page. 

the message. 

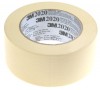
I'm not sure where the words came from... and I think sometimes when you're working on a great piece the words sort of just fill your heart and spill out. I put down some patch like masking tape.. grungied it up with the stabilo pencil and then used my archival pen to scratch in my message. 
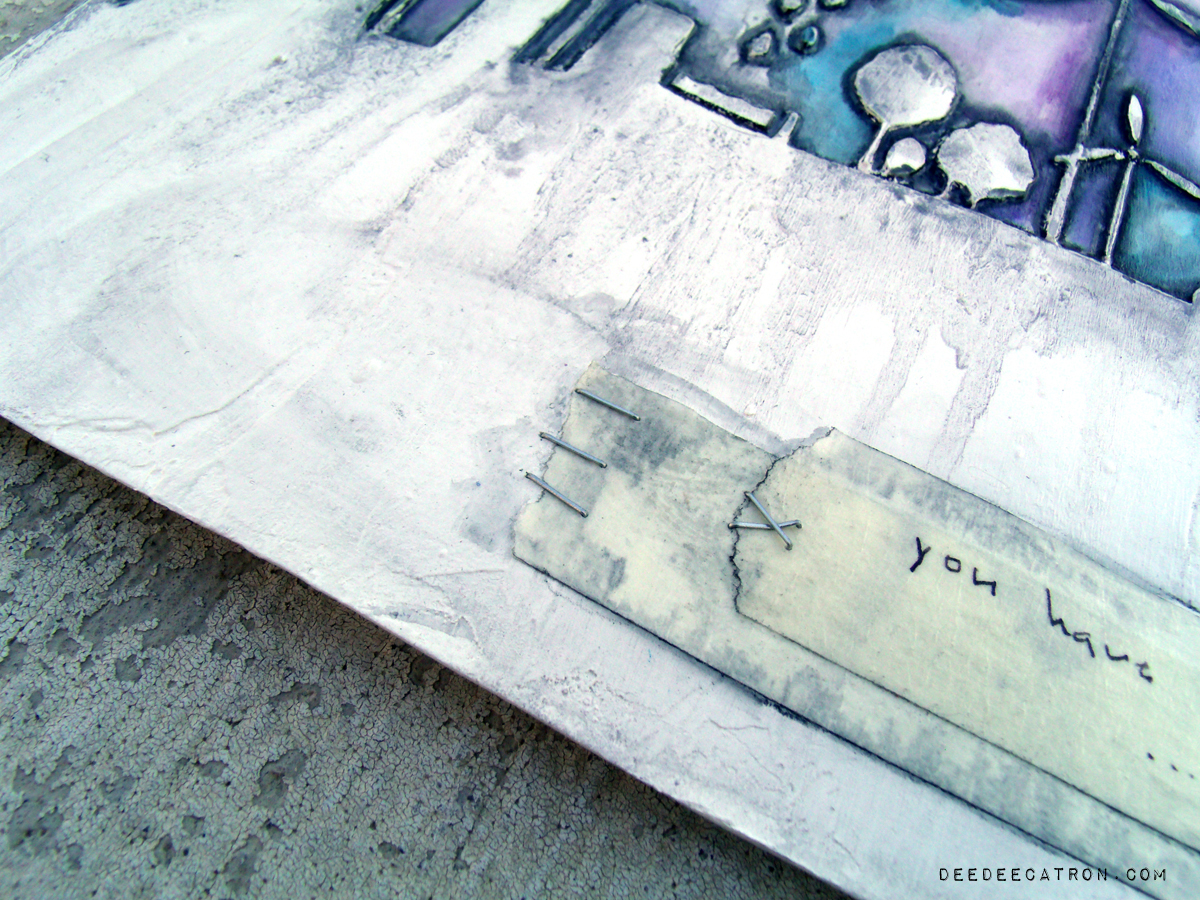


 It was stapled onto the piece as a more permanent resolution... as a sustainable way to move forward and keep working for the real cure.

Monday, November 24, 2014

Her Words {Mixed Media Tutorial and Tag}

Hello Hello everyone! :) Today I am up on the LimorWebber.com blog with a mixed media tag and flower tutorial.


SO.MUCH.DEPTH!!! The flower is the tutorial portion of my post today in VIDEO format if you'd like to stop by Limor's blog :)


LimorWebber.com Supplies:
Lindy's Stamp Gang Magicals - Industrial Chic
Prima Marketing Bubbles Stencil
Prima Marketing Heavy Body White Gesso
7 Dots Studio Cold Country Stamps

Other Supplies:
UmWowStudio Stencil (!!SNEAK PEEK of a new UWS stencil coming soon!)
Viva Las VegaStamps! Elegant Lady Face
Prima Marketing Lorraine Flower
May Arts Ribbon Crochet Lace
Tim Holtz / Ranger Distress Ink, Ranger Archival Ink in black, Sizzix Dies #8 Tag and Bird and Cage, Tim Holtz Tiny Attacher and Staples, Golden Fluid Acrylics, Fancy Pants Corrugated Board, Prismacolor Charcoal Pencil, Canson Watercolor Paper, Dymo Label Maker

Wednesday, October 22, 2014

Quick n Dirty Cards

Hi everyone! I'm up on the LimorWebber.com blog today with two quick n dirty ;) but pretty mixed media cards!


Here's a sneak peek of what's in store for you! You can even see the product list, but I urge to head over -- get all the details including a HOW TO Video start to almost nearly finish ♥


Limor Webber Products:


OTHER products used:


Thursday, October 2, 2014

In My Head... {Scrapki-wyzwaniowo challenge}

...are memories of days passed.

There's a new challenge over @ Scrapki-wyzwaniowo "In my head."


and I've based a tag from the prompt.


I've really found myself starting out a lot of projects on watercolor paper. It provides such a nice sturdy base for wet mediums. It really holds up well to the demands of my more mixed media style (especially as of late.) I diecut the tag using Sizzix and Tim Holtz's Tag die. It's been colored with Lindy's Stamp Gang magicals. There's a layer of Prima / Finnabair's heavy gesso through the UmWowStudio Damask mask on top.


The next layer consists of cheesecloth plain, and cheesecloth dipped in left over magicals deliciousness. Then a piece of chipboard from the Leaf Stems by UmWowStudio, also covered in Heavy Gesso and Magicals.


There is a Prima / Finnabair bottle cap fill with soft matte gel, glitter and glass glitter, and an Ingvild Bolme junkyard finding. The top of the tag is adorned with Larraine flowers and leaves, and new Prima leaves. There are also a few Prima brads from Engraver :)


And the bottom is where my 7 Dots Studio comes into play! From Finnabair's new Cold Country line I've incorporated die cut pieces to really help inspire and bring in the "in my head" portion of the challenge. Drawn on, distressed, inked, stapled and layered. :)

Friday, September 12, 2014

Nature {A tag}

Today I'm up on the Amazing Crafting Products blog with a tag and tutorial on making lion heads.


The tag base is 7 Dots Studio Nature Walk, and the color on top is from Lindy's Stamp Gang Magicals. I layered up a VLVS! rubber stamp, some UmWowStudio gears, moss, Prima Marketing Embellishments, found piece, the Amazing Crafting Products lion and a sentiment from my Dymo Label Maker.


Want a video tutorial on some resin stuff? Visit the ACP blog and I'll show you how to make the lion head :)

I'm also submitting this tag to the Lindy's Stamp Gang monthly challenge.

Friday, September 5, 2014

You Are Here {Art Journal Page}

Hellooooo sweet people who visit me :)

You may be aware, and my local friends will be, but each month, the first Sunday I hold an art journaling class at a local place called The Crafting Place. It's on Russell, right after Pecos. And the set up is pretty darn sweet. You bring your book, $10, and an open mind :) Then we go over some technique, product, or compilation of the two, and just have a grand ol 2 hours. well... I am trying to get better at two things.. 1) Sharing what we do in those classes (to a CERTAIN extent) and 2) be better prepared. So here I am -- showing you an art journal page that demonstrates the technique we'll be going over THIS Sunday :)

OH >>> And before I forget --- due to POPULAR DEMAND (um, YAY) we are changing the schedule for Art Journaling class a little bit... we'll now be meeting the 1st AND 3rd Sunday of every month! YAHOO! Twice the fun, twice the learning, one month. EACH and EVERY class will be different. So come on down!

We should get into it eh? Here's an art journal page titled You Are Here --- And Here Is GOOD>>


This page is really about capturing the great things that are happening for me this year. I was (am) playing with some of my favorite products, using some of my favorite techniques, and jotting down the things that make 2014 MY year.

A few glamour shots:


The supply list:
UmWowStudio Butterfly Kisses Flair
Viva Las VegaStamps! : Dictionary Page, Grungy 2, Grungy 0, Grungy 1, Grungy 4
StencilGirl Stencil
Lindy's Stamp Gang Magicals (Industrial Chic)
Heidi Swapp Arrow
Micron Pen
Dymo Label Maker
Gesso

Monday, September 1, 2014

Imagine The Impossible { A Scrapki-wyzwaniowo challenge }

Today is a great milestone for the Scrapki-wyzwaniowo challenges. We took a small break over the summer, but are back with some new graphics, new rules, new prizes, new challenges, and even better... new inspiration from our team!

We have launched with single month long challenges and 2 inspiration reveals. Not to mention FOUR prizes, one for the top 3 places each, and one random winner.

September's challenge is IMAGINE:

https://blogger.googleusercontent.com/img/b/R29vZ2xl/AVvXsEgG-QA6WVeRCjrr-8K8-FPBY-XPDju91hqTeRzGGZn6L-fiWqLpmIHSSVxmYXhDXoszDKetMX-DpILX1T9czfpFS6k1Bdl5q2mxh_jOPlBRFQLJsghrrviXOr85K8n8jOZOkP0qEo1txn0e/s1600/sw-board-09-2014.png


And my project inspiration is a beautiful vintage inspired tag :)


The tag base is my Nature Walk collection for 7 Dots Studio. I've cut it with the Sizzix #8 die by Tim Holtz. To build up my background I distressed with Ranger's Distress Ink in Walnut Stain, splattered some Lindy's Stamp Gang Magicals in Steampunk, and stamped in Versafine Smoky Gray a Viva Las VegaStamps! Coffee Ring stamp, a 7 Dots Studio Nature Walk stamp and a 7DS Cold Country stamp.

PHEW.


The top has been finished with a Prima Marketing flower and brad and some May Arts Ribbon. The flower was trimmed in half to 1) make a nice flat edge towards the top and 2) reserve part of the flower for later use. The chipboard thistles on the right side are from UmWowStudio, have been covered in gesso, and then distressed with the same distress ink and lindy's gang magicals as before. The sentiment is from the Word Stickers in the Nature Walk collection, just cut in half :)


And the bottom is where all the layered goodness comes in. First ... the photo is a brand new product from a brand new company >>> The Sparkling Gnome!! My dear dear friend Amy Lassiter is taking the plunge and selling some cool vintage photographs and other digital bits that she has found herself accumulating. (Not to mention some of her own artwork!) So that was the base for my cool Imagine the Impossible motto! If you'd like to stay up to date on all things happening SPARKLING GNOME just visit and like their facebook page :) It's been layered with a mini tag from Nature Walk, more (and the other half of that one!) Prima flowers and Prima brads, May Arts ribbons, some paper clips and a bit o' dimension.

And that's it for my inspiration and information!


OH!! But I do have to tell you --- you can TOTALLY win my BRAND NEW COLLECTION for 7 Dots Studio if you play this month @ Scrapki-Wyzwaniowo!! DESTINATION UNKNOWN is being given away as the 1st place prize!!!! SOOOOOOOOO >>> Go on over. MAKE A PROJECT. and ENTER TO WIN. 


Sunday, August 24, 2014

VLVS! and StencilGirl

We are swappppppin' between Viva Las VegaStamps! and StencilGirl Products!


For one week we'll be posting projects on tons of designer blogs using both VLVS! pink rubber stamps and StencilGirl stencils! We encourage you to hop along each day (we've spread it out so there's not so much each day) and be inspired, leave some love for each person, and maybe pick up a tip or two! If you can find the time to comment you'll be entered to win one of two superb prizes.


Both prizes include $25 worth of rubber from VLVS! and $25 worth of stencils. BOOYA!

Today's hop list looks like this :
StencilGirl Talk
Mary Beth Shaw
Mary C. Nasser
DeeDee Catron
Glenda Tkalac
Viva Las VegaStamps!


And here's my project to inspire your little creative heart:


To start with I'd like to share the following video that demonstrates stenciling, stamping and combining the two using the Stitch a Doily Stencil from StencilGirl and Dictionary Page Stamp from VLVS!:


After the background was dried both paint and stamping I got out some brand new Lindy's Stamp Gang magicals, they literally arrived on my doorstep yesterday. I added color to my background using the Time Traveler Teal. I adhered the tag to some watercolor paper and trimmed it down. There's a bit of stitching around the edge and then.. onto more layers!


Before I got too busy with layering, I knew I needed a great center piece. I have recently molded this stunning lion face using my Amazing Mold Putty, and figured he'd be JUST.PERFECT. So I cast him in Amazing Casting Resin and gave him an aged look with black acrylic paint. THEN I got to layering.
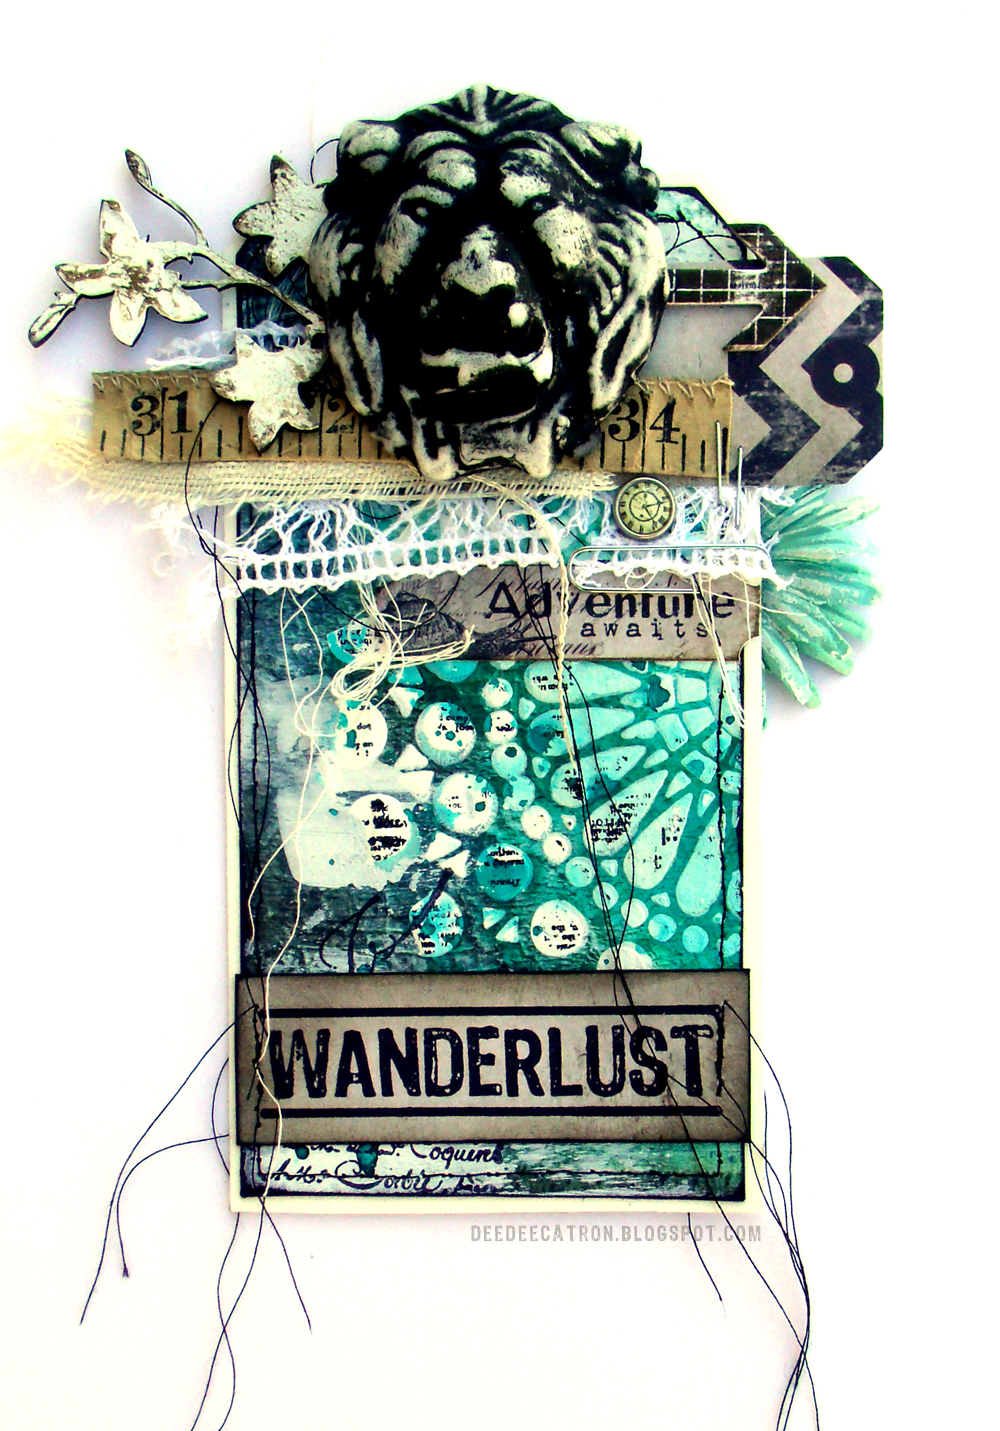


Below my lion focal point is a mini tag and die cut piece from Nature Walk (7 Dots Studio), May Arts Crochet ribbon, Prima canvas, flower layers and engraver brad, cheesecloth, thread, UmWowStudio Wild Lilies chipboard (covered in gesso and distress ink), vintage measuring tape, Heidi Swapp arrow, staples and paper clip.


You can see in the bottom left corner the French Writing background stamp from VLVS! and a good detailed shot of the stenciling and stamping. As a final bit o' goodness I trimmed up a piece of Nature Walk and stamped Wanderlust in archival ink. A bit more stitching to secure it and DONE. ♥ A few other supplies not mentioned yet : Gesso, palette knife, Sizzix Tim Holtz tag die and 9Th Wave collection by 7 Dots Studio.

Don't forget you're onto Glenda Tkalac Next! Hope you found some useful stuff here today :)