Wanna know an easy way to make QUICK art? Have some bits n bobs laying around like preworked backgrounds! I love my Gelli Arts printing plates -- they get me in the zone when I need a little artsy push and then I have beauties to use like this background piece. I invite you you to watch the creation process of my card :)
Showing posts with label star confetti. Show all posts
Friday, June 2, 2017
She Must Be A Daughter From Outer Space {ICAD 2}
2/2 for ICADs today :)
Wanna know an easy way to make QUICK art? Have some bits n bobs laying around like preworked backgrounds! I love my Gelli Arts printing plates -- they get me in the zone when I need a little artsy push and then I have beauties to use like this background piece. I invite you you to watch the creation process of my card :)
Wednesday, November 18, 2015
Immortality {A Tag}
REJECTED probably should have been the title of this blog post. BUT -- what can ya do? Just keep on trying :) I'm sharing a tag with you today that I had previously submitted for print to a magazine. Due to FULL FRONTAL NUDITY it has been rejected.
It's cool.. it happens. it makes a little bit of sense. and it just gives me the opportunity to share it with you now! So here is my Immortality Among the Stars Tag -- you may sense a little bit of familiarity with this tag -- it was the inspiration for one of my pieces from the 31 days of stamping event.
Mmm... sigh. I love this tag ♥ The base is a piece from my Lost and Found collection for 7 Dots Studio. I adore the line in all its vintage glory, and also because cutting a tag from those sheets requires very little manipulation to have a great background and or base.
I used my sewing machine to sew around the tag.. giving it a border of white and helping create a boundary. I really enjoy machine stitching on paper... two contrasting elements that work well together. I've used two stamps from Viva Las VegaStamps!. One designed by Mary Vogel Lozinak : Whimsical Tree Lady. The other by me : Film Strip. First I stamped the Film Strip on a scrap of white paper with Ranger Archival Ink... then I stamped the Whimsical Tree Lady twice.. once on the background of my tag in Ranger Archival Ink and embossed with WOW Embossing Powder, and then once on top of the film strip in Archival, making sure to mask off the reel holes of the strip.
The Tree Lady was then outlined in a Faber Castell / Design Memory Craft's Aquarelle Grip Watercolor pencil. I used a small paintbrush and some water to feather out the intensity of the pencil making a nice gradient of color around her. I trimmed out the film strip and popped it up using dimensional adhesive.
After the watercolor pencil was dry I used a PITT pen to draw circles around the girl, just adding a bit of contrast to the background while playing off the whimsy of her "hair." I also printed up a saying on some cardstock using my inkjet printer and glued it down with a UHU stick. The idea of the whole tag is that this beautiful voluptuous gal is forever immortalized in film.
And last but never least, the tag was finished off with a scatter of Star Confetti Chipboard from UmWowStudio. I left it in the natural raw kraft color to accent the vintage tones of the entire tag. I had a scrap of natural colored muslin laying on my desk that ended up being just the perfect touch to tie *pun intended* off my tag. Love when those little pieces fall together like that.
♥♥
Wednesday, July 8, 2015
May Art Journaling -- catch up!
Hello Hello!
It may have taken me a little bit to get caught up but here are the two journal classes from May :)
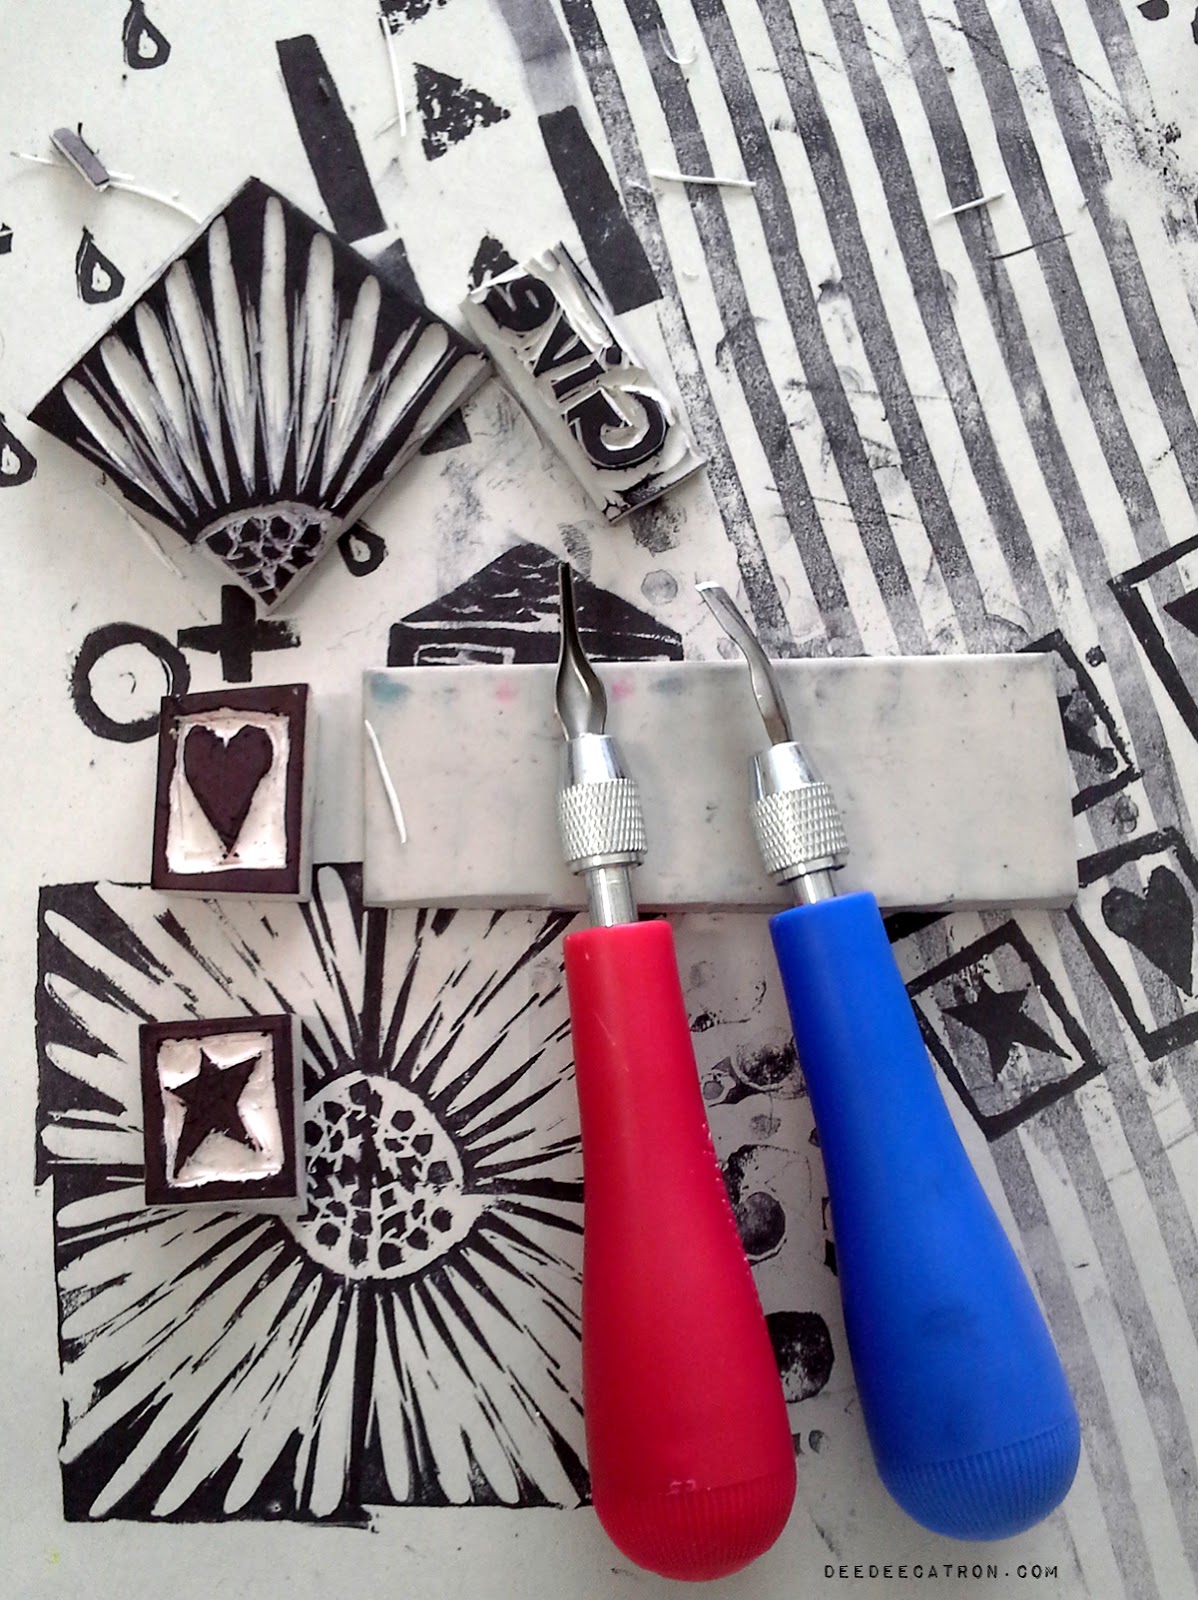
The first class in May we concentrated on making stamps!! We did a bit of stamp cutting and carving out of different materials.
It may have taken me a little bit to get caught up but here are the two journal classes from May :)
The first class in May we concentrated on making stamps!! We did a bit of stamp cutting and carving out of different materials.
And the 2nd one from May was about using gesso, stencils and chipboard to create texture that you can then glaze over. YUM. I sent the class home with homework to come back with a finished page. The results were pretty awesome! I'm just gaga over the UmWowStudio chipboard stars layered on the UmWowStudio Star Confetti Stencil.
May's videos are available for purchase here :)
You can also join this Facebook Group to share your work based on the classes, or to just be inspired!
May's videos are available for purchase here :)
You can also join this Facebook Group to share your work based on the classes, or to just be inspired!
For whatever reason I didn't end up with any class photos for either of these workshops, boo!
Monday, December 8, 2014
Christmas Card Hop {Viva Las VegaStamps!}
Yay! Blog hop time with the fabulous VLVS! Design Team.
Our hop :
Thanks for stopping by today -- don't forget to leave me some love and then you're onto Glenda!
We've lined up to offer you some inspiration when it comes to Christmas Cards! There is a prize so be sure to stop by each blog and leave some love. One random comment wins a LB O' Rubber and a Christmas themed Grab Bag!
Our hop :
Onto my card eh?? I went with a woodsy sort of "All around good time" card using the Peace On Earth sentiment.
The base of the card is kraft cardstock. I livened up the background by stamping the brand new Sheet Music Background in nice rich Archival Black ink. I've been doing this whole creating new stamps thing a long time now, and even I'm surprised by the detail and glory this new background stamp has.
Peace On Earth was stamped in the same ink on a matching piece of kraft paper and then trimmed to size. The white block is a piece of white cardstock diecut. I trimmed off one side and adhered it down with Miracle Tape.
This version of Alice with Fawn/Deer is also from the brand new release. I adore how earthly, loving, and down to earth she feels. She makes a great Holiday themed stamp and gives her a little break from that maddening world.
My card was finished with a bundle of May Arts Twine, vintage button and some UmWowStudio Star Confetti.
Thanks for stopping by today -- don't forget to leave me some love and then you're onto Glenda!
Monday, July 14, 2014
Chunky ATCs
I've joined the VLVS! Fans in a Chunky ATC swap. And they're AWESOME.
I've made a sort of "statement piece" but tried to keep it a little light. Here are tons of detail shots and info. But if you're interested in a bit of info about using more delicate papers in your mixed media works, Join me on the VLVS! blog for a Time2Stamp video.
Now. Onto my ATCs!
{photo info heavy}
{photo info heavy}
The rules were 2 ATCs -- one for the VLVS! Retail store, and one to swap with another participant. The base for my ATCs is light colored pine wood that's been coated in coffee stain. Three of the four sides have been covered in a vintage Card Catalog Card that the dear Amy has sent me.
The card has been distressed with Distress Ink in Walnut Stain and water. I used two vintage drawer pulls from the wood section at Michaels (if you follow me on instagram @deedeecatron you'll have seen the power tools on my desk recently!) and some UmWowStudio Star Confetti to decorate the bottom portion of the front panel.
The kind of.. Shining Star of my ATC is a Frozen Charlotte doll -- I ordered a set of them from Etsy and then molded them in Amazing Mold Putty so that I might use them over and over. The originals are sitting high up out of 3 year old reach ;) -- This doll is the 2nd smallest and has been cast in Amazing Casting Resin then splattered with coffee. It's held in place by adhesive, net and staples. Sort of a "body preservation" statement. The wings are Bat Wings from VLVS! and have been stamped in archival ink on vintage book paper. (That's the tip I talked about before.. visit VLVS's blog to see)
The right side is comprised of a piece of that card and a sneak peek at something coming to UmWowStudio soon!
The back is really great -- I didn't put any paper down, so that you might see all the hard work I did staining with coffee. It's really cool. I stamped with my new Clockface design from VLVS! Straight onto the wood for a really great grungy weathered look. More use out of my awesome Dymo Label Maker, and those big letters are the brand new DIY Printers Blocks from UmWowStudio.
The block bases have been painted with Distress Paint in Black Soot, and the letters have been left raw chip. I should say.... paint the bases before you adhere down the letters. Seems very "DUH" to me now, but I tried to adhered the letters first, and then was stuck painting in all the empty spaces. You can see some of them got a little dirty, lol.
The left side panel has a single stamp of the new vintage Penny Farthing from VLVS!, again in archival ink. If I don't use something permanent then I always smear it or make it run. With Archival I can stamp, heat set it, and then work on top of it with whatever I like. There's that NAUTICAL star sneak peek again ;)
You can really get a good taste of the depth on these babies. I adore going 3D. I really do.
And one last final good looking shot of a single ATC.
Friday, November 22, 2013
Joy Card {May Arts & Splash of Color}
Hi everyone!! Today the May Arts Ribbonistas are swapping with the folks @ Splash of Color and using PEARL PENS with our choice of RIBBON.
The base of my card is a heavy watercolor paper, and the 2nd layer is a piece of
vintage double dot by BoBunny.
The tree is made of May Arts Eyelet Ribbon with a "string of lights" of Burlap String. I used a Clear Pearl Pen to create snow drifts on my "branches." I applied the pearl pen thicker on the edges and thinner in the middle of the eyelet lace.
The tree is adorned with thread and UmWowStudio Star Confetti. I finished the card with a JOY stamp from Viva Las VegaStamps!, cheesecloth, staples and I doodled along the edges with a Sakura of America micron pen.
Subscribe to:
Posts (Atom)